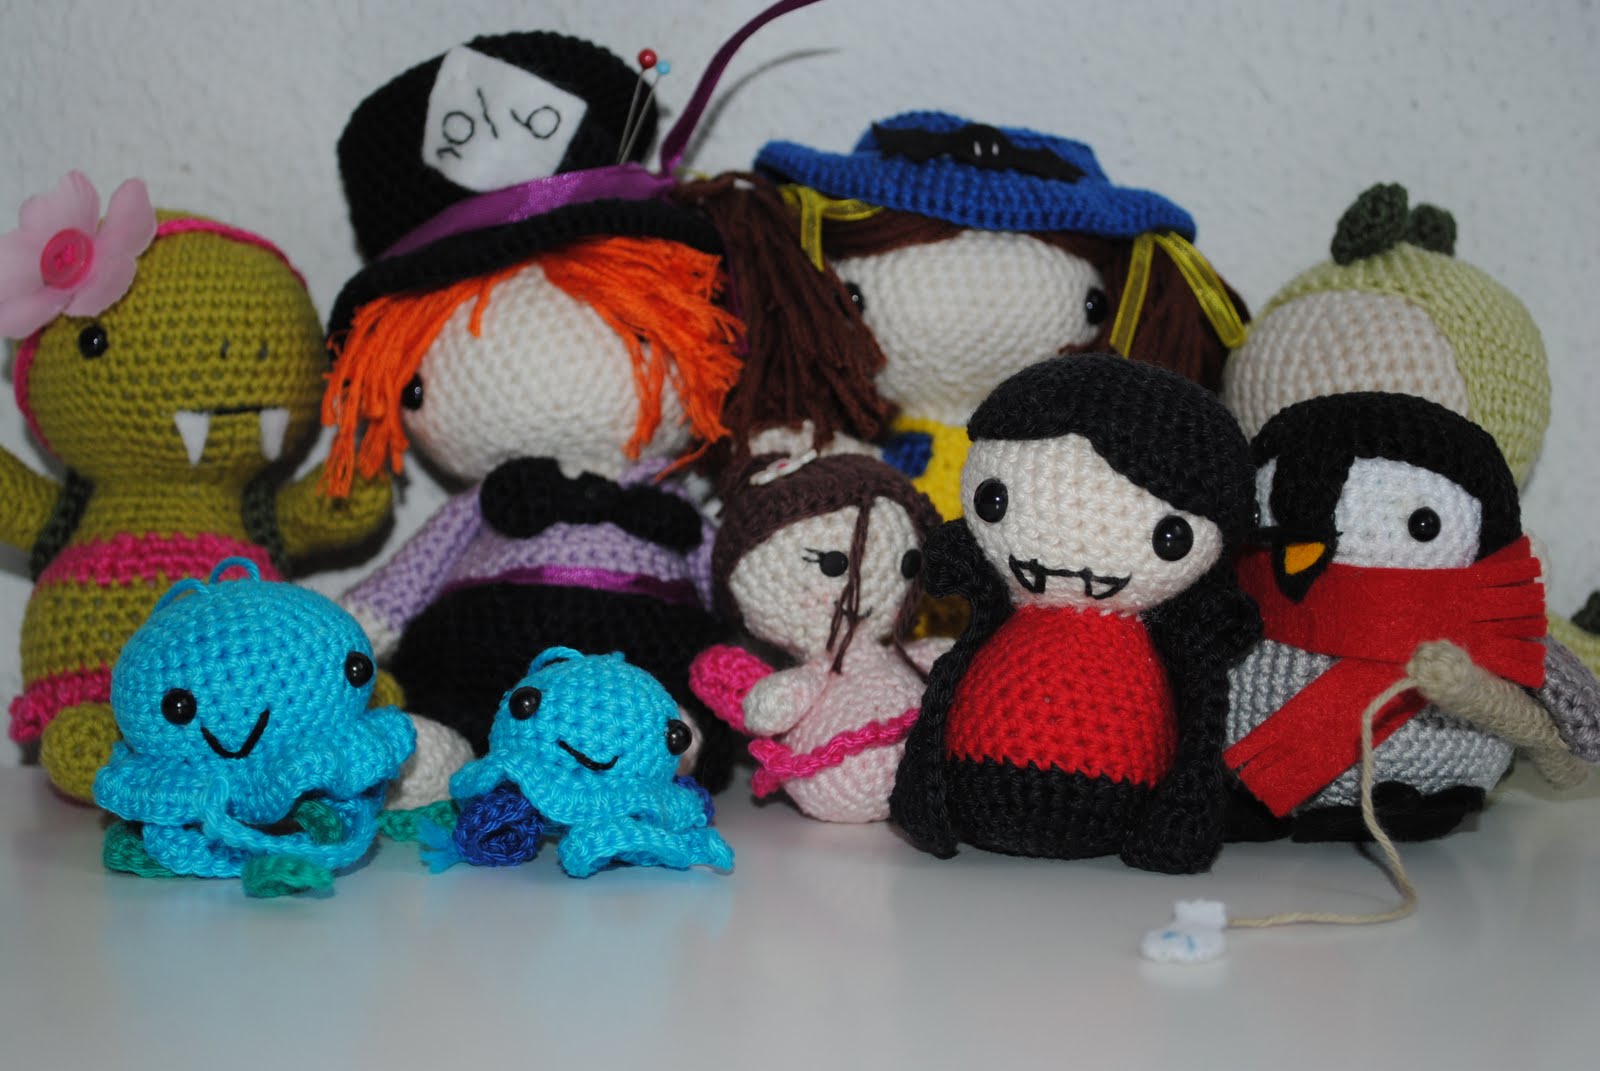
Showing posts with label amigurumi. Show all posts

Sunday, February 17, 2013

crochet amigurumi tutorials


I really wanted to make some crochet tutorials for a long time, and I finally found the time to do so.
This is part one:


Monday, February 11, 2013

New pattern: Cherry love

My new pattern: Cherry love is just in time for valentine. It is a perfect pattern if you are just starting amigurumi or if you need something to crochet a last minute present!
Now for sale in my etsy shop!


Wednesday, September 14, 2011

Halloween Pattern

Let me introduce to you: Amy the little witch!

I did not plan on a new halloween pattern this year, but hey, what can I say? I just LOVE halloween!

The pattern of this little witch with her monster friend is now available in my etsy and ravelry shops!


Monday, July 25, 2011

Dr. Brainy!!!

Yay! I completed a new pattern. Let me introduce you to Dr. Brainy.
Dr. Brainy is a zombie docter who specializes in helpling the undead!
Go meet him at my shop


Thursday, July 14, 2011

Brainnnnssss, FREE PATTERN


I finally finished a new pattern. I was so inspired by all the amazing stuff on the etsy dark team, that I had to make something weird and a bit dark, so here it is:
Brainnnnnsssss. This little brain, likes zombies.......for diner.
download now

Tuesday, July 5, 2011

Etsy Dark Team

Hi there,

I haven´t been around a lot, I know, but it is about to change.
I have teamed up with the etsy dark team. An amazing group of artists who create art with a dark twist!
Go check them out, click!
Or check out our blog

Today I also created my first treasury (it wasn´t easy trust me, but I finally figuered it out, :) ) on etsy: weird pink

I have also started on a new crochet pattern!!!!! Hooray! finally! I will keep you posted on it!

Cheers,

Wednesday, April 27, 2011

Edward Scissorhands!

Finally my new pattern is here!!!


Edward Scissorhands is now for sale in my etsy shop!

Thursday, April 7, 2011

How to stuff your amigurumi

Last year I was a guest writer on crochet spot. I wrote a piece about stuffing your amigurumi. Today I realised I never added it to my blog. So even though it´s a year later, here it is!:


You just finished crocheting all parts of your amigurumi. So now you are ready to stuff them. This is a very important part of your work, because it determines what your finished doll will look like. I want to share some tips to help you get the best result.
First of all, stuffing actually begins before you even start with your amigurumi, by choosing the right crochet hook. You want to crochet as tight as possible, so the chance your filling will be showing through your crochet work is minimum. The tighter you crochet, the bigger hook you can use. For example, I am a very loose crocheter so I always choose a very small crochet hook.
Now back to your finished amigurumi parts. You have to use the right filling. Of course you can buy doll materials like fiberfill in your local shop but I like to use a more budget friendly version, filling from old cushions. I think it works great.
Try to stuff your amigurumi with one piece of filling, instead of adding a piece after piece. If you would add little pieces, your amigurumi would become very lumpy.
stuffing amigurumi

For a head or body, try to stuff as firmly as possible, but not overstretching it. You don’t want your filling to start showing through. For legs and arms, be gentle with stuffing, otherwise you could loose your shape.
When the opening of your arm or leg is very small, use something pointy to get the filling all the way down to hands or feet. I always use my scissors for this, but be careful, not to hurt yourself.
stuffing amigurumistuffing amigurumi
Stuff the feet more firmly then the legs, to ensure you get a nice shape.
If you have too much filling in, just pull out what you don’t need.
stuffing amigurumi
When you have the filling in, start ‘moulding’ the doll’s parts, it’s amazing what you can do to the shape of your doll.
stuffing amigurumi
Now your doll part is finished!
stuffing amigurumi
The last tip: Have fun making your amigurumi!

Monday, February 21, 2011

My first donation!!!

Hi everyone,

I just made my first donation! I choose to donate to Pieterburen Zeehondencreche. This organisation helps (baby) seals who are sick. They nurse them, untill they are better and they release them back into the wild.
They really need all the help they can get, because this year there are more sick seals then ever.
Thanks everyone for buying my patterns, because of you we can help these seals a little bit.

Renske

Monday, February 7, 2011

He is not scary... He is cute.....

My new pattern. A little amigurumi shark. He is now for sale in my etsy shop.


Also for sale: shark and jellyfish money save pattern. You will receive both the mommy and child jellyfish pattern and the shark pattern. You save 20%!

Thursday, January 20, 2011

New pattern!!! Jellyfish!

As you might know, I have decided to donate everything I make to animal welfare organizations. Right now I am focussing on the sea. There are a lot of problems with the fish and animals in our seas. We need to help them, so I thought it would be fun to make some sea amigurumis!
Jellyfish mommy and child!

This pattern is now for sale in my etsy shop!!!!

Monday, January 17, 2011

Big Update: charity

Hi everyone,

Besides crocheting I have another thing in my life that plays a big role. I am 100 procent vegetarian and I give my time to raise public awareness about animal cruelity around the world. Me and some friends made a dutch blog about the subject. And I volunteer at an animal shelter in the neighbourhood. Because of this I have decided that from january 1st of 2011 I will donate a minimum of 80 procent (maxium 20 procent will be used for paypal/etsy fees) of what I earn with funandfang to animal welfare organizations. When I have raised 20 dollars, I will make a donation to an organization of my choice. When I have done so I will tell you about it through my blog.
I have chosen not to mention this in my etsy shop, since the rules on etsy state you have to write a piece about which organization you will donate to and with me this will vary. I want to support various animal welfare organisations on different levels.
I am very excited about this and I will keep you all posted on the subject!

Sunday, January 16, 2011

And we have a winner!!!!!

The winner of this giveaway is: Brittany!!!!


Congratulations!!! Please contact me, so you can chose two patterns from my shop!!!

Thanks to everyone who entered! It was so much fun!


Wednesday, January 5, 2011

Giveaway!!!

As promised a giveaway in january! To thank you all for the great support in 2010 and just because I love giveaways!!!!

What to win?
2 patterns (or printables) of your choice from my shop. Click here to take a look around.

What to do?
Leave a comment or send me an email at funandfang@hotmail.com.

When will it end?
At Sunday 16 January at 12 (UTC+01:00) in the afternoon. Be sure to leave me a note before then.

When will I know if I won?
I will anounce the winner monday. I will pick the winner randomly!


So good luck everyone!

Friday, December 31, 2010

Happy New year!!!


Last year has been a strange year, we had to deal with sickness and death. But in terms of creativity it was great, I made my own designs and I am selling them on the internet. I met lots of great people and I have my own blog with 129 followers already!!!

Thank you all so much for you support and kind words the last year! It is amazing to see my designs come to life.


So to all of you: Have a beautiful, healthy and ofcourse creative 2011!!!


hope to see you soon!


Renske


Tuesday, November 30, 2010

Free Pattern: Melting snowman amigurumi

It is snowing over here, so I decided it was time for a free pattern! The melting snowman. I even got to photograph him in the snow!!


I am trying something new. Instead of publishing the pattern here, I have a download button, which you can use! I am new to this, so please let me know if you have any problems downloading it. Have fun!!

Wednesday, November 10, 2010

star the little christmas elf.....


Here she is......


.....this is star the little christmas elf. She is ready to help santa with all of his presents.

She can be yours too. Her pattern is now available in my etsy and ravelry shops!

Thursday, October 28, 2010

Halloween SALE

Because it is almost Halloween, I have decided to do a SALE in my etsy shop.
All halloween crochet patterns are 50% off!!!!!
So hurry to the shop for your last minute halloween projects!

Friday, October 22, 2010

What´s going on.....

As you can see I have changed the layout of my blog and made a logo for funandfang.
What do you think??? Do you like it?? Please give me some feedback!!!

Besides this I am working on a new pattern (christmas is coming!!) and new tutorials.

If you are wondering about the little pregnant cat I told you about earlier...... she is still pregnant! (If you don´t know what the */% I am talking about: I have a little cat from the shelter in my home. When the kittens are old enough they will be given up for adoption.)
I will keep you posted on this too. (just because she is so cute!).

This is her, her name is Raafje, which means Raven in dutch.

So keep checking my blog and bring on the feedback!

Thursday, October 21, 2010

How to decrease invisible?

Ever wondered how to decrease without leaving a knot or a gap?? I am going to try to explain it to you. Please let me know if you find this usefull, so I could do more how to´s... in the future.

Decrease!

1. Start by putting your crochethook through the Front loop of the first stitch, DO NOT pull the yarn through the loop, instead......

1

2...... Put your hook through the Front loop of the second stitch. This could take some practice, twist your hook to slide it through.

2

3. Now you have the two front loops on your hook and the loop that was already there, take up your yarn and pull through the two front loops at the same time.


3

4.Now you can finish your stitch as normal. You have now 2 loops on your hook, take up your yarn and pull through both of them. Now you are finished. You shouldn´t be able to see anything on the outside of your work.

4

This is a trick you need to practice a bit. In the beginning I couldn´t get the hang of it, but just hang in there, because the result is worth it.
Your work will look better and more professional.